Single Sign-On (SSO) Getting Started
Single Sign-On is available for enterprise plans. Upgrade your plan to use this feature.
If you use the self-hosted version, you must set up the license and then follow the sso server setup guide to use this feature.
This guide will help you set up Single Sign-On (SSO) for your organization using OpenID Connect.
Getting Started
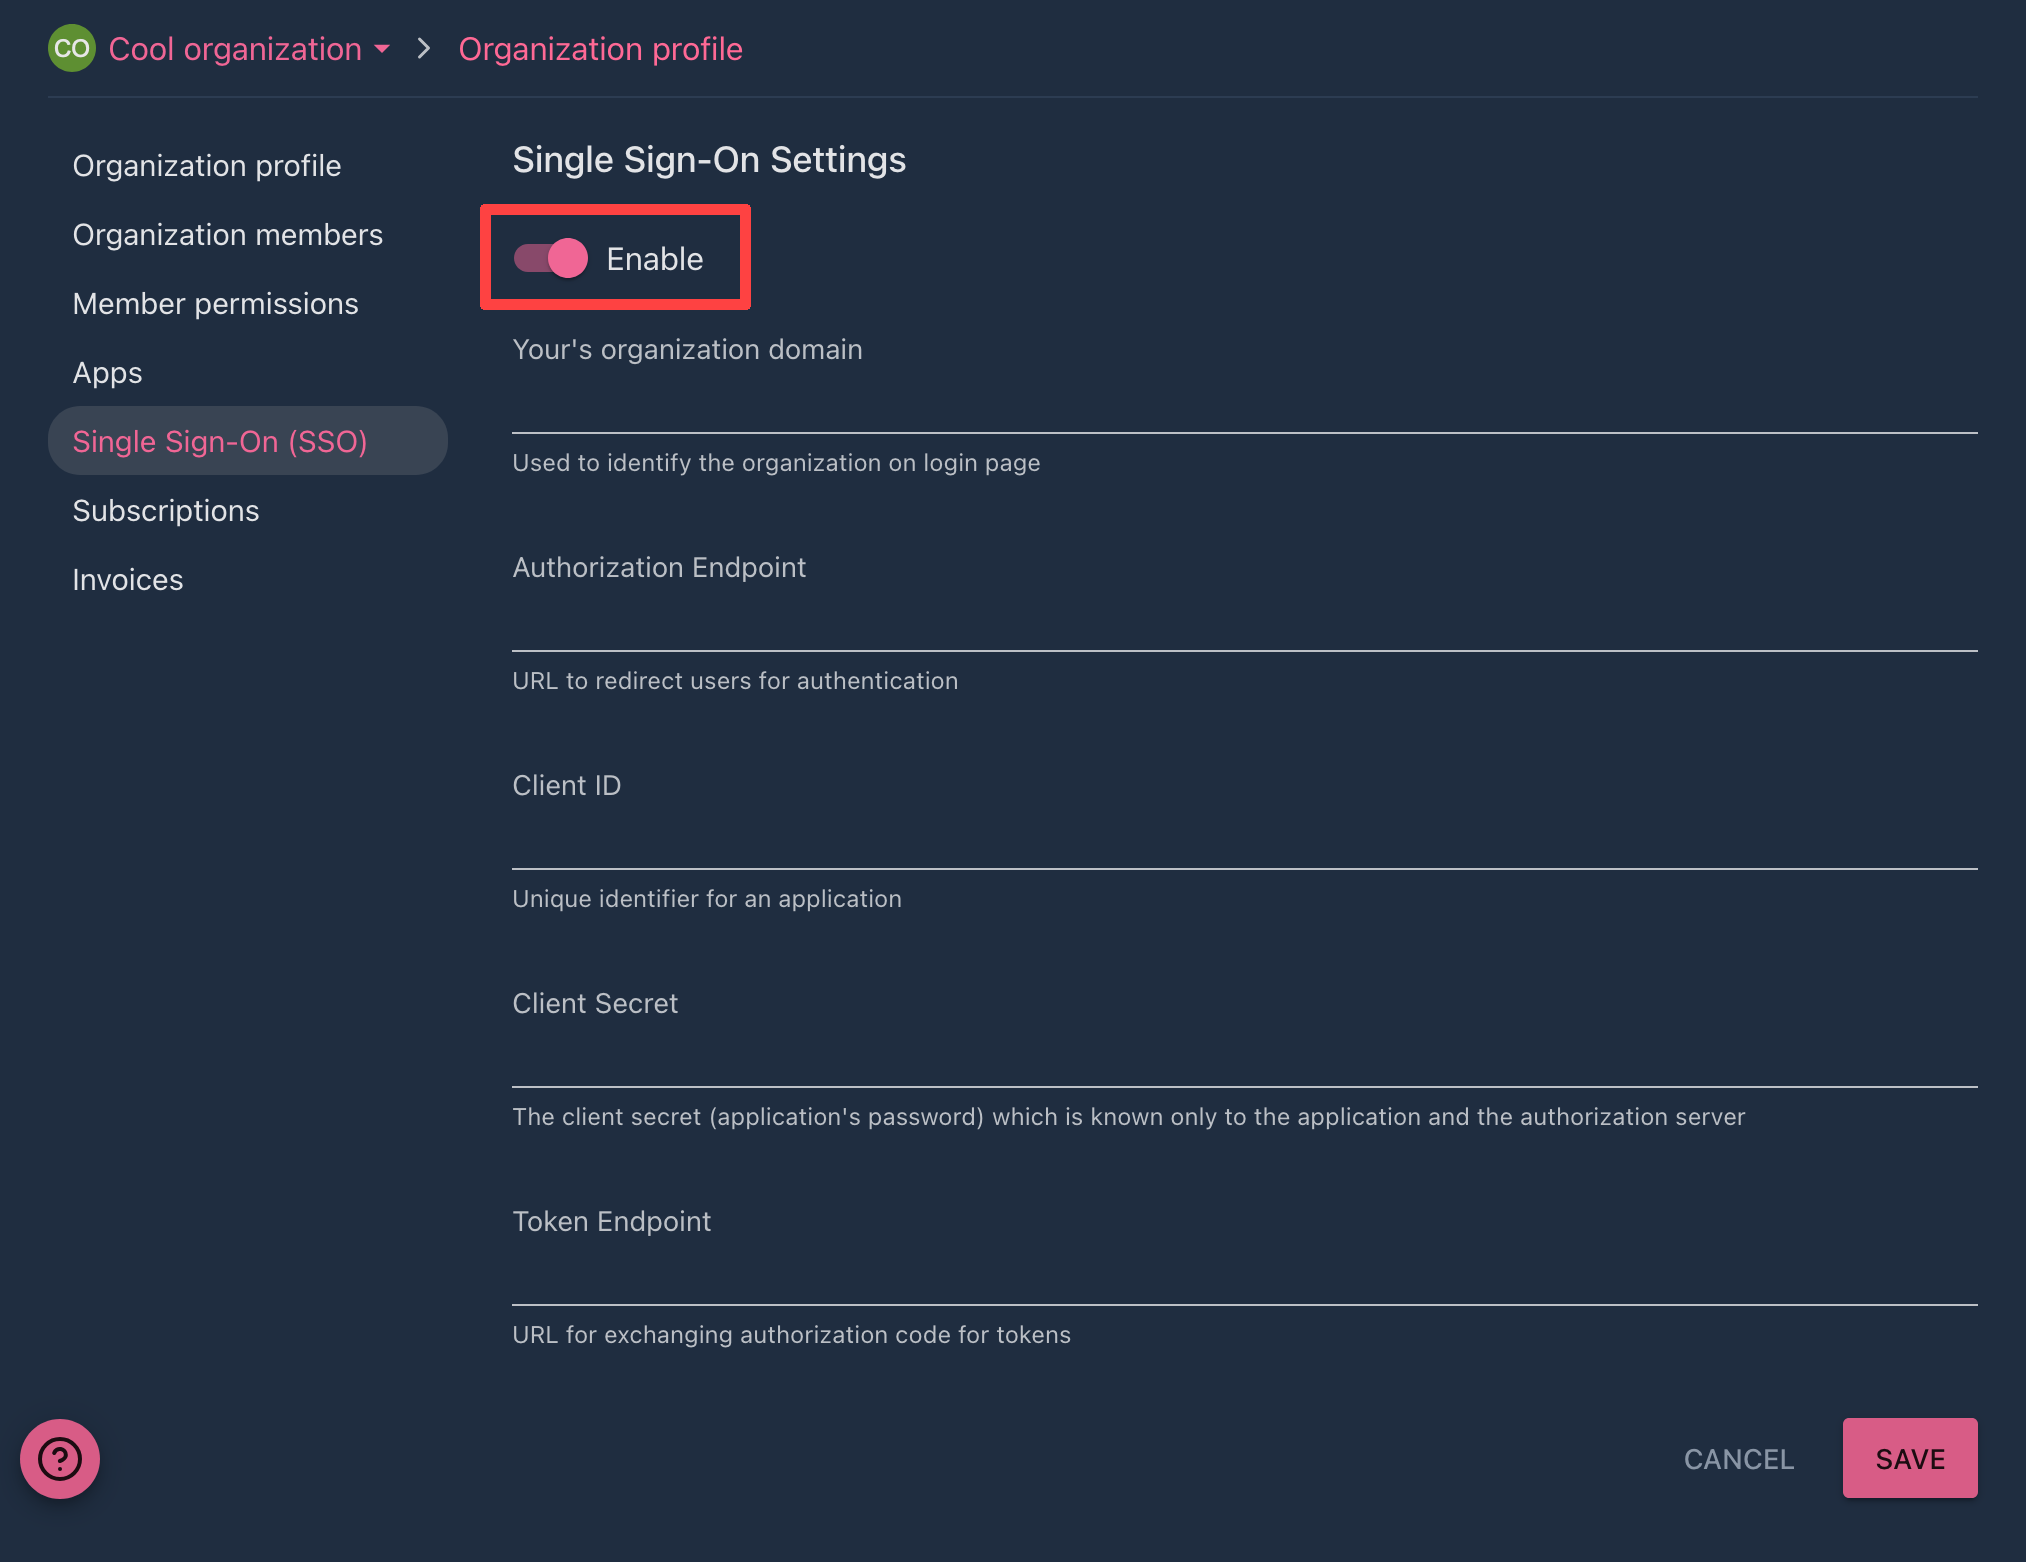
First, you need to enable the SSO feature in your organization settings. To do this, follow these steps:
- Log in to your Tolgee account.
- Click on your profile picture in the top right corner and select
Organization settings. - Click the 'Enable SSO' button in the
Single Sign-On (SSO)section.

Configure the OIDC application with your Identity Provider (IdP)
Now you must register the OIDC application with your Identity Provider (IdP) and provide Client ID, Client Secret and well-known configuration URLs to Tolgee. Configuration OIDC application is different for each IdP, but commonly you need to set the Sign-in redirect URI (if you use Tolgee cloud URL is https://app.tolgee.io/login/auth_callback/sso) and Grant type to Authorization Code and Refresh Token. You can find a guide for popular IdPs in the section below.
Configure Tolgee
After you have registered and configured the OIDC application, you need to provide the following information to Tolgee:
| Property | Description |
|---|---|
| Domain name | Used to identify the organization on login page |
| Client ID | Unique identifier for an application |
| Client Secret | Key used to authenticate the application |
| Authorization URL | URL to redirect users for authentication |
| Token URL | URL for exchanging authorization code for tokens |
After you have provided this information, click the Save button. You can now log in to your Tolgee account using SSO. For this purpose, you can use the Login with SSO button on the login page and provide your organization's domain name.