Usage
Localization setup in Unreal Engine
Tolgee is now fully supported as a native Localization Provider for the Unreal Engine Localization Dashboard.
If you are unfamiliar with localization in Unreal Engine, we highly encourage you to check out the following resources:
If you have not configured the Tolgee Provider yet, go through the Setup first.
Working with the Tolgee Localization Provider
To make the initial push (or to update it after creating/deleting/updating keys):
- Run Unreal's
Gather Textfollowed byTolgee Push - Go inside the Tolgee web dashboard and translate
- Run
Tolgee Pullto get the latest data from your dashboard
Data sources breakdown
When using the Tolgee Unreal Engine plugin, translation data can be pulled from multiple places:
Unreal Localization Dashboard
-
Servers: static data
- can only be updated using the
Tolgee Pullbutton mentioned above - requires re-packaging the game to update
- can only be updated using the
-
Available: both in-editor and packaged games
-
Best for: when keys are added/removed from the project
Content Delivery Network
-
Servers: dynamic data
- fetched at runtime during start-up from Tolgee Content Delivery and dynamically injected
- updated Over The Air (OTA) without re-packaging
-
Available: both in-editor and packaged games
-
Best for: patching translation without risks to production
Tolgee Web Dashboard
-
Servers: dynamic data
- fetched at runtime during startup from the Web Dashboard directly and dynamically injected
- updated Over The Air (OTA) without re-packaging
-
Available: only in-editor
-
Best for: faster local development
Content Delivery Network and Tolgee Web Dashboard cannot be used at the same time for Play-in-Editor sessions. Toggling between them is done via Use Cdn in Editor. Configuring the settings for each is explained below.
Settings
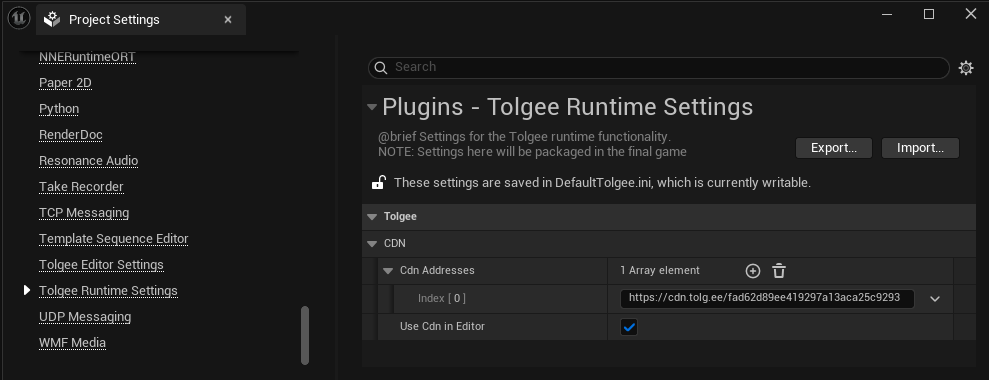
Tolgee Runtime Settings
These settings will be packaged with the final game and are saved as plain text in the project.

Cdn Addresses: List of web addresses the plugin will query to fetch dynamic translations at the game start.
Use Cdn in Editor: If enabled, Play-in-editor Sessions will use dynamic data from the CDN. Otherwise, data from the Web Dashboard will be queried.
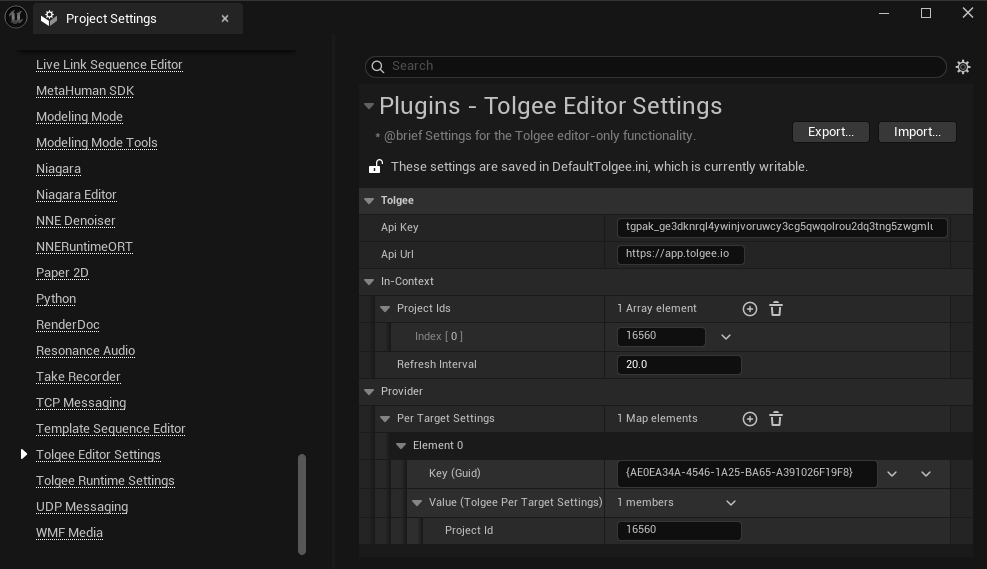
Tolgee Editor Settings
These settings will NOT be packaged with the final game, but they are saved as plain text in the project.

The Api Key, Api Url and the entire Provider section are programmatically controlled when they are configured via the Unreal Localization Dashboard. So you don't have to worry about setting them manually.
In-Context → Project Ids: List of Tolgee Project Ids the plugin will query to fetch dynamic translations constantly.
In-Context → Refresh Interval: How often (in seconds) we will check the above project ids for updates.
Tolgee Menu
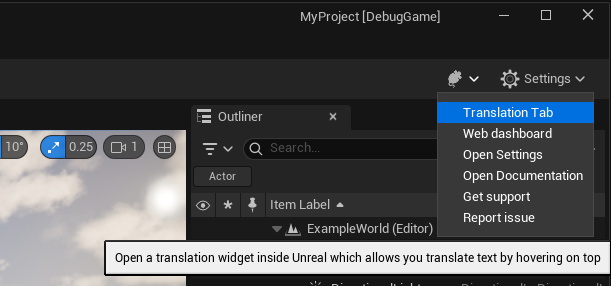
After enabling the Tolgee plugin and restarting the editor, the Tolgee icon should be visible in the upper right corner toolbar.

Tolgee Tab – In Context Translations
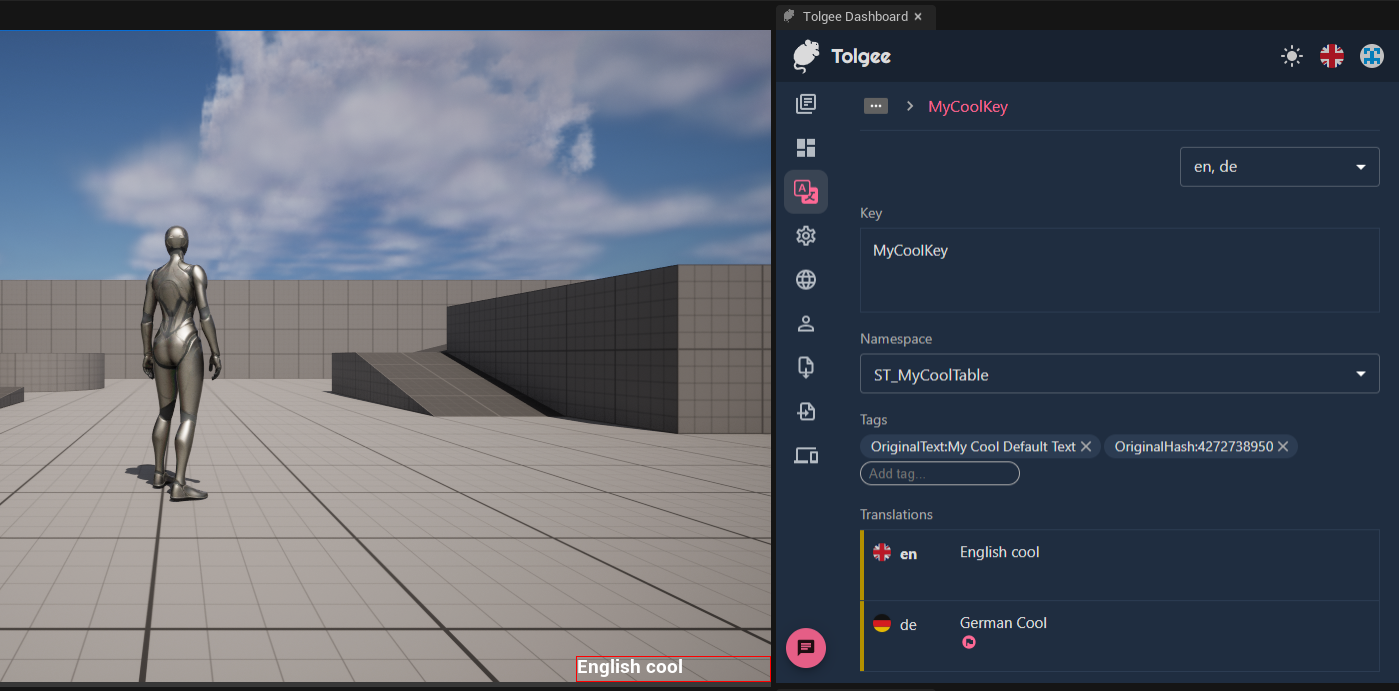
The best part of the Tolgee plugin is the Tolgee Tab.
After logging into your Tolgee account, hovering over any unformatted localized string will open a browser window containing the matching key inside Tolgee.
You can directly update the translation, hit save and if you have the settings configured, the text will be updated while the game is running.
